Jobeet Day 13: The Mailer
Yesterday, we added a read-only web service to Jobeet. Affiliates can now create an account but it needs to be activated by the administrator before it can be used. In order for the affiliate to get its token, we still need to implement the email notification. That’s what we will start doing in the coming lines.
The Symfony Framework comes bundled with one of the best PHP emailing solution: Swift Mailer. Of course, the library is fully integrated with symfony, with some cool features added on top of its default features via SwiftMailerBundle.
Mailer Transport
By default, Swift Mailer tries to use a local SMTP server to send the message to the recipient and it’s not very easy to setup it correctly. Big mailing servers, like Gmail, have strict requirements for emails. Bad configured emails will be automatically moved to spam folder or completely rejected.
In this case it’s better to use 3rd party mailing services, such as SendGrid. They offer 40,000 emails for your first 30 days, then 100 emails/day, forever. It’s quite enough for the beginning.
Start with creation of the account on this page: https://signup.sendgrid.com/.
After registration, you will see the dashboard with welcome message:
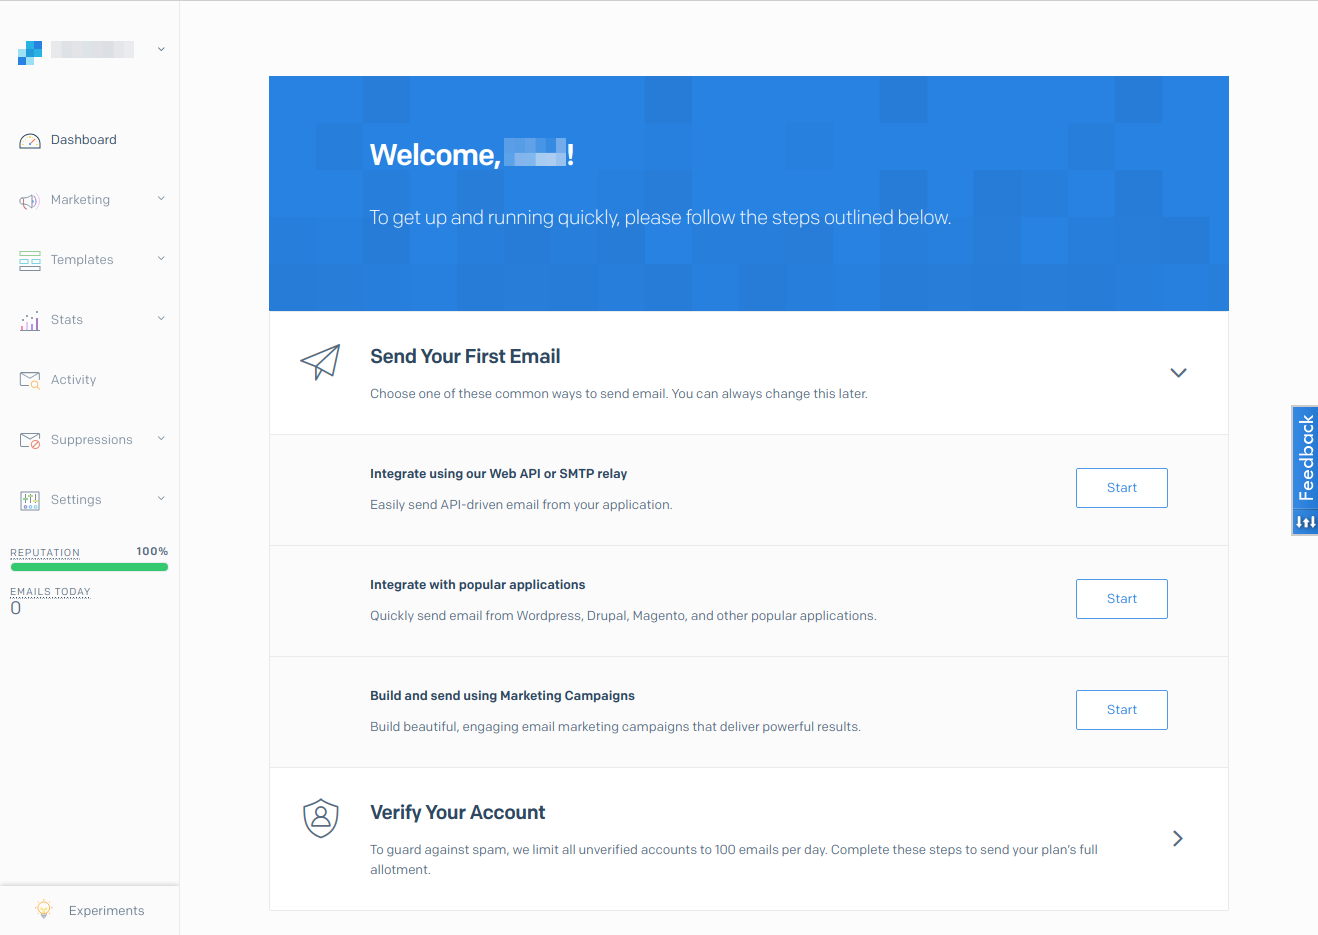
Next, setup Symfony to use SendGrid and your newly created account.
Edit MAILER_URL variable in .env file:
- MAILER_URL=null://localhost
+ MAILER_URL=smtp://smtp.sendgrid.net:587?username=YOUR_USERNAME&password=YOUR_PASSWORD
Insert your username (not email) instead of YOUR_USERNAME and password instead of YOUR_PASSWORD.
That’s all! You are ready to use SendGrid in Symfony project.
Sending simple Emails
Let’s start by sending a simple email to notify the affiliate when his account has been confirmed and to give him the affiliate token.
Replace the activate action with the following code:
namespace App\Controller\Admin;

// ...

class AffiliateController extends AbstractController
{
    // ...

    /**
     * ...
     *
     * @param EntityManagerInterface $em
     * @param Affiliate $affiliate
     * @param \Swift_Mailer $mailer
     *
     * @return Response
     */
    public function activate(EntityManagerInterface $em, Affiliate $affiliate, \Swift_Mailer $mailer) : Response
    {
        $affiliate->setActive(true);
        $em->flush();

        $message = (new \Swift_Message())
            ->setSubject('Account activation')
            ->setTo($affiliate->getEmail())
            ->setFrom('jobeet@example.com')
            ->setBody('Your account has been activated successfully! Your token is: ' . $affiliate->getToken());

        $mailer->send($message);

        return $this->redirectToRoute('admin.affiliate.list');
    }

    // ...
}
For the code to work properly, you should change the
jobeet@example.comemail address to a real one.
Sending the message is then as simple as calling the send() method on the mailer instance and passing the message as an argument.
The email message is an instance of the Swift_Message class.
Refer to the Swift Mailer official documentation to learn more about this object, and how to do more advanced stuff like attaching files.
Refactoring
We remember about good practices and thin controllers. Building of email in controller break these rules. Create separate service class, where all the logic related to emails will be placed:
namespace App\Service;

use App\Entity\Affiliate;
use Swift_Mailer;
use Swift_Message;

class MailerService
{
    /** @var Swift_Mailer */
    private $mailer;

    /**
     * @param Swift_Mailer $mailer
     */
    public function __construct(Swift_Mailer $mailer)
    {
        $this->mailer = $mailer;
    }

    /**
     * @param Affiliate $affiliate
     */
    public function sendActivationEmail(Affiliate $affiliate): void
    {
        $message = (new Swift_Message())
            ->setSubject('Account activation')
            ->setTo($affiliate->getEmail())
            ->setFrom('jobeet@example.com')
            ->setBody('Your account has been activated successfully! Your token is: ' . $affiliate->getToken());

        $this->mailer->send($message);
    }
}
And use new service in AffiliateController:
namespace App\Controller\Admin;

// ...
use App\Service\MailerService;

class AffiliateController extends AbstractController
{
    // ...

    /**
     * ...
     *
     * @param EntityManagerInterface $em
     * @param Affiliate $affiliate
     * @param MailerService $mailer
     *
     * @return Response
     */
    public function activate(EntityManagerInterface $em, Affiliate $affiliate, MailerService $mailerService) : Response
    {
        $affiliate->setActive(true);
        $em->flush();

        $mailerService->sendActivationEmail($affiliate);

        return $this->redirectToRoute('admin.affiliate.list');
    }

    // ...
}
Now controller looks better!
Emails with template
The body of message looks very simple now, just plain text, but what if we want to add some HTML?
Create template templates/emails/affiliate_activation.html.twig with the same message and some HTML tags added:
<p>Your account has been activated successfully!</p>
<p>Your token is: <b>{{ token }}</b></p>
Twig compiler is represented by EngineInterface. Inject it into MailerService and use it to render created template:
namespace App\Service;

use App\Entity\Affiliate;
use Swift_Mailer;
use Swift_Message;
use Symfony\Component\Templating\EngineInterface;

class MailerService
{
    /** @var Swift_Mailer */
    private $mailer;

    /** @var EngineInterface */
    private $templateEngine;

    /**
     * @param Swift_Mailer $mailer
     * @param EngineInterface $templateEngine
     */
    public function __construct(Swift_Mailer $mailer, EngineInterface $templateEngine)
    {
        $this->mailer = $mailer;
        $this->templateEngine = $templateEngine;
    }

    /**
     * @param Affiliate $affiliate
     */
    public function sendActivationEmail(Affiliate $affiliate): void
    {
        $message = (new Swift_Message())
            ->setSubject('Account activation')
            ->setTo($affiliate->getEmail())
            ->setBody(
                $this->templateEngine->render(
                    'emails/affiliate_activation.html.twig',
                    [
                        'token' => $affiliate->getToken(),
                    ]
                ),
                'text/html'
            );

        $this->mailer->send($message);
    }
}
Now we can add more advanced slicing for emails!
Configuration
You can choose to have all email sent to a specific address or a list of addresses, instead of the address actually specified when sending the message.
This can be done via the delivery_addresses option in file config/packages/dev/swiftmailer.yaml:
swiftmailer:
    delivery_addresses: ['dev@example.com']
It will prevent sending of emails to real addresses of users.
MailHog
Important! Skip this section if you don’t use Docker.
If you don’t want to use 3rd party services and delivery_addresses option in development to catch all emails, you can use MailHog.
MailHog is an Docker image with SMTP server inside that catches all outgoing emails and shows them in convenient interface.
First add MailHog to docker-compose.yml:
version: "3.1"
services:
    # ...

    mailhog:
        image: mailhog/mailhog:v1.0.0
        container_name: jobeet-mailhog
        ports:
            - 1025:1025
            - 8025:8025
Add installation of special build of sendmail to docker/php-fpm/Dockerfile file:
# Link MailHog
RUN curl -Lsf 'https://storage.googleapis.com/golang/go1.8.3.linux-amd64.tar.gz' | tar -C '/usr/local' -xvzf -
ENV PATH /usr/local/go/bin:$PATH
RUN go get github.com/mailhog/mhsendmail
RUN cp /root/go/bin/mhsendmail /usr/bin/mhsendmail
Stop all containers and start them again:
docker-compose stop
docker-compose up -d
PHP container will be rebuilt because we changed build process.
Setup in .env file to send emails to mailhog:
- MAILER_URL=null://localhost
+ MAILER_URL=smtp://mailhog:1025
Open http://127.0.0.1:8025/ and trigger sending of email from interface:
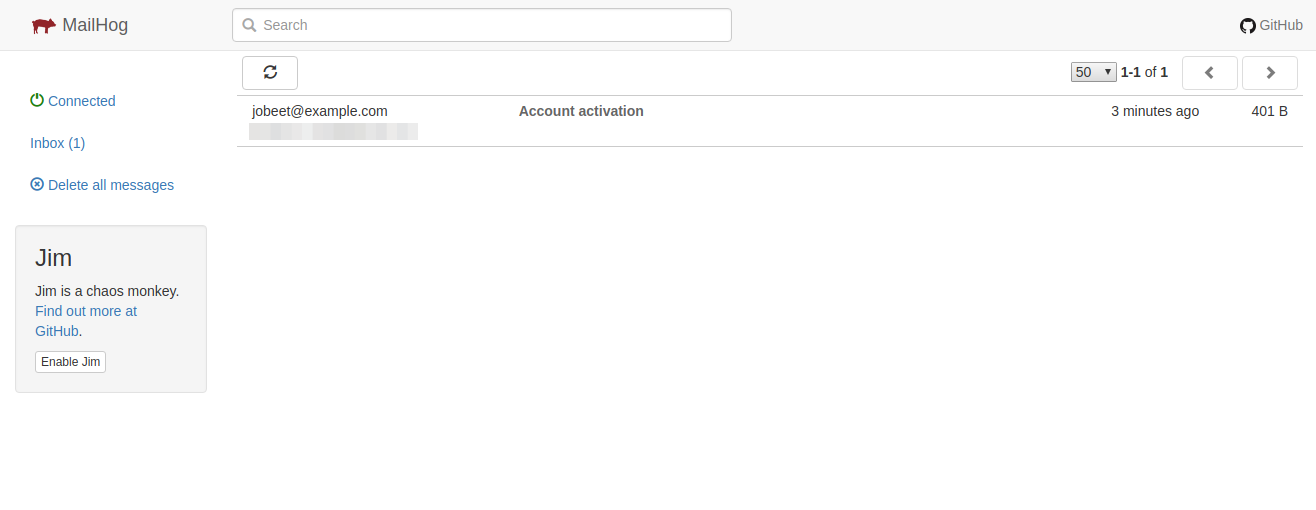
Here you can see all emails sent by the application.
That’s all for today, you can find the code here: https://github.com/gregurco/jobeet/tree/day13
Additional information
Next Steps
Continue this tutorial here: Jobeet Day 14: Translations
Previous post is available here: Jobeet Day 12: The API
Main page is available here: Symfony 4.2 Jobeet Tutorial